
How to Repot a Plant: Pot Size, Roots, Aftercare In (2026)
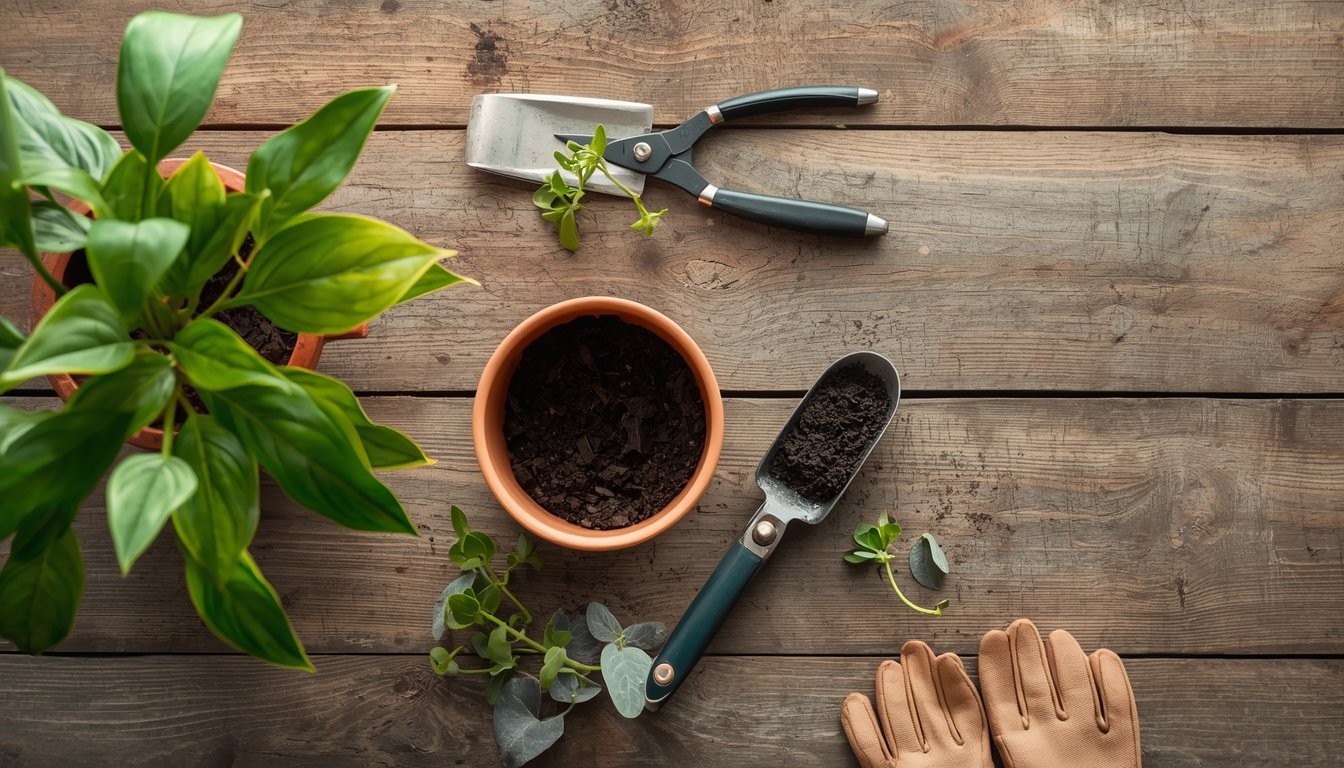
Roots pushing through the drainage holes, water racing straight out of the pot, a plant that tips over every time you brush past it: these are the moments when repotting stops being optional. Repotting simply means moving a plant into fresh potting mix, usually in a larger container, so the roots have somewhere to grow and something to grow into.
This guide how to repot a plant walks you through the whole process. You will learn how to confirm your plant genuinely needs a new pot, how to pick a size that helps instead of harms, how to lift the plant out without tearing the roots, and what to do during the first fragile week afterwards.
Quick Answer
To repot a plant, choose a pot one size larger with drainage holes, prepare fresh potting mix, and slide the plant out of its old container. Inspect the roots, loosen any that circle tightly, then set the plant at its original depth, fill around the root ball, water thoroughly, and keep it in gentle light while it settles.
Does Your Plant Need Repotting?
Check the roots before you check anything else. Most repotting decisions are made by looking at the top of the plant, which is the least reliable place to look.
Clear signs that a plant is ready:
- Roots growing out of the drainage holes or pushing up across the soil surface
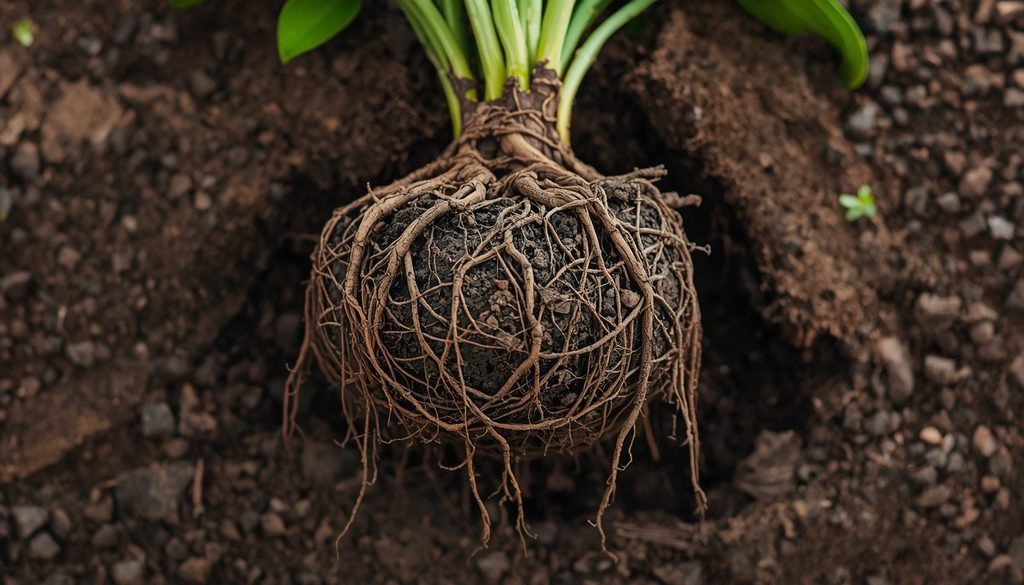
- Roots circling densely around the outside of the root ball when you slide the plant out
- Water running straight through and out of the pot within seconds
- Soil that has shrunk, hardened, or pulled away from the sides of the container
- Growth that has stalled even though light, watering, and feeding are appropriate
- A plant that has become top heavy and keeps tipping over
- Potting mix that has broken down into a dense, muddy texture
Quick Check: Tip the plant out and look at the outer surface of the root ball. If you mostly see soil, leave it alone. If you mostly see a tight mat of roots, it is time.
When Repotting Is Not Necessary
Repotting is a disturbance, not a treatment. It does not fix most plant problems, and doing it without cause simply costs the plant a recovery period.
You can usually skip it when:
- The plant was repotted within the last twelve months and is growing normally
- Leaves are yellowing or dropping but roots are healthy, which usually points to watering, light, or a recent change in conditions
- The species prefers a snug pot, as several popular houseplants flower and grow better when slightly restricted
- The plant is already stressed by pests, disease, or a recent move, unless the roots themselves are the problem
When Is the Best Time to Repot a Plant?
The best time is at the start of a period of active growth. A plant that is actively producing new roots will colonise fresh mix quickly, which shortens the recovery window.
For most houseplants in temperate climates, that means spring into early summer. Growth slows in low light and cooler temperatures, so a plant repotted in mid winter sits in damp mix it cannot use, which raises the risk of root problems.
A few situational notes:
- Indoor plants under consistent conditions are more flexible. If your home stays warm and well lit year round, the seasonal rule matters less than the plant’s own growth activity. New leaves are your signal.
- Newly purchased plants usually do not need immediate repotting. Give them two to four weeks to adjust to your light and humidity first, unless the nursery pot is badly congested or the mix is waterlogged.
- Flowering plants are better left until blooming finishes. Repotting mid bloom often causes buds or flowers to drop.
- Struggling plants should be diagnosed before they are disturbed. The exception is root rot, where waiting makes things worse.
Important: Species differ. Cacti, succulents, orchids, and ferns all have their own preferences, so check guidance for your specific plant rather than assuming one rule covers everything.
What You Need Before Repotting
Gather everything first. Roots dry out surprisingly fast while you hunt for a bag of compost.
| Item | What it is for |
|---|---|
| New pot with drainage holes | Gives roots room while letting excess water escape |
| Fresh potting mix | Restores structure, aeration, and a small nutrient supply |
| Sheet, tray, or newspaper | Contains the mess and makes indoor repotting practical |
| Clean scissors or pruners | For trimming damaged or dead roots only |
| Watering can | For settling the mix after planting |
| Small trowel or scoop | Easier than hands for filling narrow gaps |
| Gloves | Useful for sap sensitive plants and for spiny species |
Wipe your scissors or pruners with rubbing alcohol before cutting any root tissue. It takes ten seconds and prevents you from moving disease between plants.
How to Choose the Right New Pot
Go up by roughly 2 to 5 centimetres, or 1 to 2 inches, in diameter for most houseplants. For a large floor plant in a pot wider than about 25 centimetres, an increase of 5 to 8 centimetres is reasonable. The goal is a gap of one to two finger widths between the root ball and the pot wall.
Why an Oversized Pot Causes Problems
A large volume of mix holds a large volume of water. With only a small root system drinking from it, that mix stays wet for far longer than the roots can tolerate. Persistently saturated soil starves roots of oxygen, and oxygen starved roots are where root rot begins.
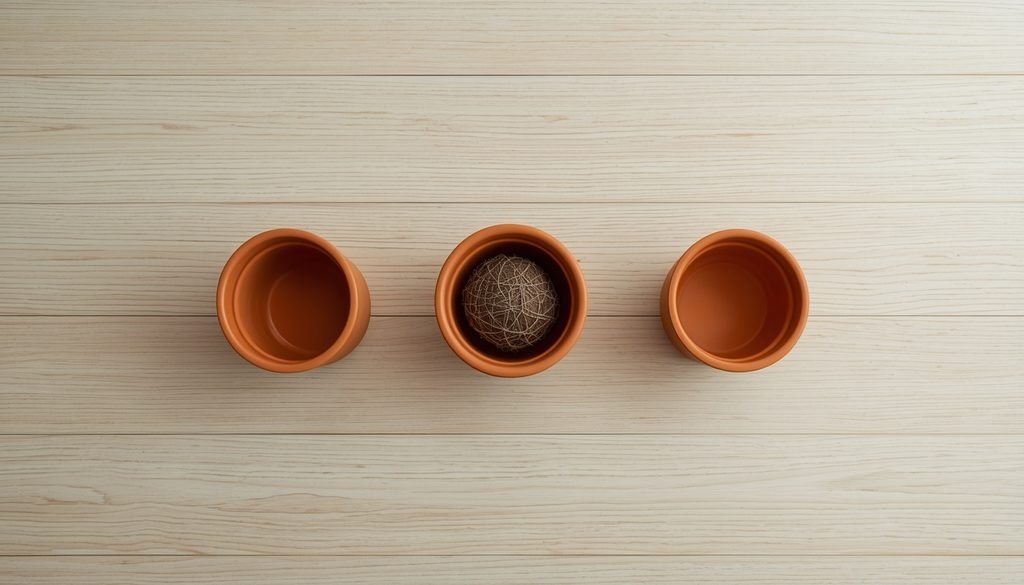
This is the single most common way a well meaning repot damages a healthy plant.
Drainage, Depth, and Material
| Feature | What to look for | Why it matters |
|---|---|---|
| Drainage holes | At least one, ideally several | Without them, excess water has nowhere to go |
| Depth | Proportional to the root ball, not dramatically deeper | Deep pots hold a wet reservoir below the roots |
| Terracotta | Porous, dries faster | Suits plants that dislike constant moisture |
| Glazed ceramic or plastic | Retains moisture longer | Suits thirstier plants and drier homes |
| Decorative pot with no holes | Use as an outer cover only | Keep the plant in a functional inner pot you can lift out |
Important: Placing gravel or broken pottery at the bottom of a pot does not improve drainage. It reduces usable soil volume and can raise the saturated zone closer to the roots. Use a pot with holes and a well structured mix instead.
Choosing the Right Potting Mix
Use fresh potting mix, not garden soil. Garden soil compacts inside containers, drains poorly, and may carry pests or pathogens.
A general purpose houseplant mix suits most tropical foliage plants. Where your plant has specific needs, adjust:
- Succulents and cacti: a gritty, fast draining mix with added sand or pumice
- Orchids: bark based mix, not conventional potting compost
- Aroids such as monstera and philodendron: a chunkier mix with bark or perlite for air pockets
- Ferns and moisture lovers: a mix with extra coir or compost to hold water without turning dense
Adding perlite to a standard mix at roughly one part perlite to four parts mix improves aeration for most indoor plants. Our houseplant soil guide covers the ratios in more detail.
Moisten the mix lightly before use. Bone dry mix repels water and creates dry pockets around the roots.
How to Repot a Plant Step by Step
This is the core of the process. Work steadily. Rushing is where roots get torn.
Step 1: Prepare the New Pot
Add a layer of fresh mix to the bottom of the new pot. Judge the depth by setting the old pot inside the new one: the rim of the old pot should sit level with the rim of the new one.
Why it matters: This is what sets your final planting height.
Avoid: Guessing the depth and discovering the plant sits too low once it is already in.
Step 2: Prepare the Plant
Water the plant lightly one or two days before repotting. Slightly moist mix holds together and slides out cleanly.
💡 Why It Matters
Bone dry root balls crumble, and soaking wet ones smear and compact.
🚫 Avoid
Watering heavily on the same day.
Step 3: Remove the Plant Carefully
Support the base of the stem with one hand, tilt the pot, and ease the plant out. If it resists, squeeze a flexible pot or run a blunt knife around the inside edge of a rigid one.
💡 Why It Matters
The stem and crown bruise easily.
🚫 Avoid
Pulling the plant out by its stem or leaves.
Step 4: Inspect the Root Ball
Look at colour, texture, and smell. Healthy roots are generally firm and pale, and the root ball smells of soil. Note anything blackened, soft, or foul smelling.
Why it matters: This is your only clear view of the plant’s root health.
Avoid: Skipping the inspection because the plant looks fine above ground.
Step 5: Handle Circling or Damaged Roots
Gently tease apart roots that circle tightly around the outside. Trim away roots that are clearly dead or damaged with clean scissors. Leave healthy roots alone.
💡 Why It Matters
Tightly circling roots often keep circling in the new pot.
🚫 Avoid
Shredding the root ball apart. Loosening the outer layer is enough.
Step 6: Add Fresh Potting Mix
Confirm the base layer height using the plant itself, then adjust before going further.
💡 Why It Matters
It is far easier to correct now than after the pot is filled.
🚫 Avoid
A base layer so thick the plant sits above the rim.
Step 7: Position the Plant Correctly
Centre the plant and set it so the top of the root ball sits at the same level it did before, roughly 2 centimetres below the rim of the pot.
Why it matters: Burying the crown, where stem meets roots, invites rot. Planting too high leaves roots exposed and drying.
Avoid: Letting the original soil line disappear beneath fresh mix.
Step 8: Fill Around the Root Ball
Add mix around the sides in stages, tapping the pot on the work surface to settle it. Press lightly with your fingertips to remove large air gaps.
Why it matters: Big voids leave roots suspended in air where they dry out.
Avoid: Pressing down hard. Compacted mix drains badly and blocks oxygen.
Step 9: Water the Plant
Water slowly and evenly until it runs from the drainage holes. Let it drain fully, then empty any saucer.
Why it matters
This is your only clear view of the plant’s root health.
Avoid
Skipping the inspection because the plant looks fine above ground.
Step 10: Place the Plant in Suitable Conditions
Return the plant to bright, indirect light and a stable temperature for the first week or two.
Why it matters
A plant with disturbed roots cannot support heavy water loss from strong light.
Avoid
Moving it straight into direct afternoon sun or next to a heat source.
How to Handle Roots Correctly
Root handling is where most repotting outcomes are decided. What you should do depends entirely on what you find.
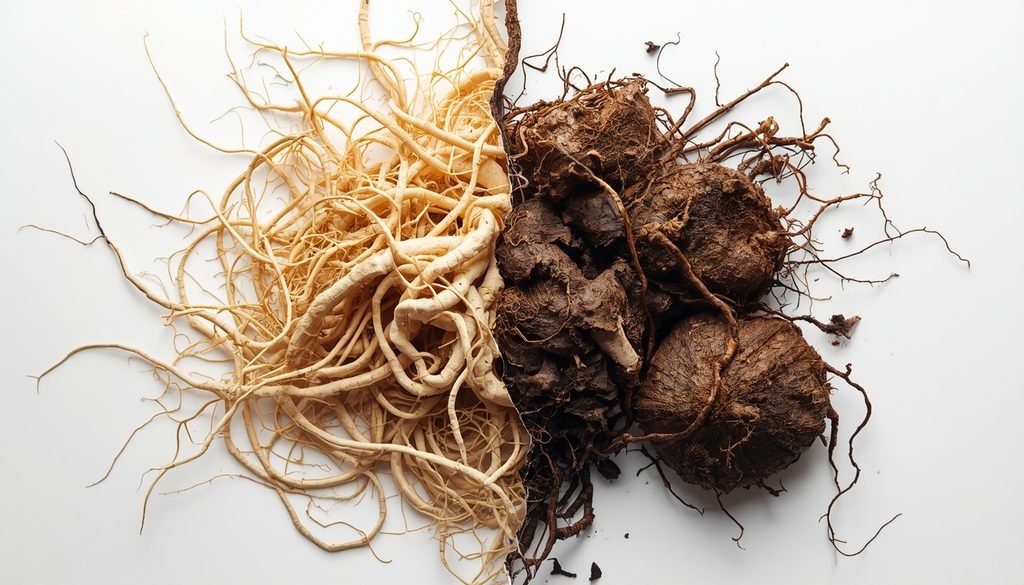
| What the roots look like | What it usually means | What to do |
|---|---|---|
| Firm, pale, spread through the mix | Healthy and not restricted | Leave them undisturbed |
| Dense mat circling the outside | Root bound | Loosen the outer layer gently, then pot up |
| Thick roots wound tightly in a spiral | Long term restriction | Tease apart, or make two or three shallow vertical cuts down the sides |
| Dry, brittle, papery | Dead or long dehydrated | Trim away with clean scissors |
| Black or dark brown and mushy | Possible root rot | Remove affected tissue, treat as a rot case |
| Foul or sour smell | Likely rot and anaerobic conditions | Inspect thoroughly before repotting |
When to Disturb Roots as Little as Possible
Not every plant benefits from having its roots teased out. Minimise disturbance when:
- The plant has fine, thread like or fleshy, brittle roots that snap easily
- You are simply moving the plant into a slightly larger pot with no visible congestion
- The plant is in flower or recovering from another stress
- The species is known to dislike root disturbance
In these cases, lift the root ball intact and settle it into fresh mix without unpicking it.
Root Rot Changes the Process
If roots are black, soft, and smell unpleasant, the standard procedure does not apply. See the root rot section below.
How to Repot a Plant Without Killing It
Most repotting deaths trace back to a small set of avoidable causes. Each risk below has a direct prevention step.
| Risk | What goes wrong | How to prevent it |
|---|---|---|
| Oversized pot | Mix stays wet, roots suffocate | Increase diameter by 1 to 2 inches for most houseplants |
| No drainage | Water pools at the base | Use a pot with holes, or keep the plant in an inner pot |
| Compacted mix | Air is squeezed out of the root zone | Firm gently, never press down hard |
| Excessive root disturbance | Too much of the absorbing root system is lost | Loosen only what is circling, trim only what is damaged |
| Wrong planting depth | Buried crown rots, exposed roots dry | Match the original soil line |
| Overwatering afterwards | Reduced root function cannot take up the water | Water thoroughly once, then wait until the mix begins to dry |
| Feeding too soon | Fertiliser salts stress recovering roots | Wait four to six weeks if the mix contains fertiliser |
| Harsh light immediately after | Leaves lose more water than roots can replace | Give bright, indirect light for one to two weeks |
Common Repotting Mistakes to Avoid
Choosing a pot that is much too large. It feels generous. In practice it creates a wet, airless reservoir around a small root system, which is the leading cause of post repotting decline.
Using a container with no drainage holes. Water has nowhere to escape, and the bottom layer of mix stays saturated permanently. Decorative pots are fine as outer covers only.
Burying the stem or crown. Fresh mix pushed up against the stem keeps that tissue damp and invites rot at exactly the point the plant can least afford to lose.
Compacting the soil. Firm pressure feels tidy, but it collapses the air pockets roots need to breathe and slows drainage considerably.
Damaging healthy roots. Aggressive teasing or trimming removes the fine feeder roots that do most of the water uptake, which is the direct cause of severe transplant shock.
Watering on the wrong schedule. Some people soak the plant daily to help it recover. Others avoid watering entirely because they fear rot. Water thoroughly once at planting, then return to checking the mix before each watering.
Fertilising immediately. Most commercial potting mixes already contain a starter charge of nutrients. Adding more puts salts around roots that are not yet functioning at full capacity.
Moving a stressed plant into strong light. A plant with a reduced root system cannot replace the water that bright, hot light pulls from its leaves.
Special Repotting Situations
Repotting a Root Bound Plant
A genuinely root bound plant shows a dense outer mat of roots with very little visible soil, often holding the pot shape after removal. Loosen the outer roots by hand. If they are thick and wound tightly, make two or three shallow vertical cuts down the sides of the root ball with a clean blade to encourage outward growth. Pot up one size only.
Repotting a Plant With Root Rot
Root rot requires removal of affected tissue, not simply a bigger pot.
- Wash the mix off the roots so you can see what you are dealing with.
- Cut away every black, brown, or mushy root with sterilised scissors, cutting back to firm, healthy tissue.
- Discard all the old mix. Do not reuse it.
- Wash and sterilise the original pot, or use a new one.
- Choose a pot sized to the remaining root system, which may be smaller than the original.
- Repot into fresh, free draining mix.
- Water lightly and allow the mix to dry further than usual between waterings.
If you have removed a large share of the roots, consider trimming some foliage so the reduced root system is not supporting more leaf area than it can supply. Recovery is not guaranteed, and plants that have lost most of their root system often do not survive. Our guide to identifying and treating root rot covers prevention in more detail.
Repotting a Recently Purchased Plant
Most plants arrive in adequate nursery pots and benefit from two to four weeks of settling in before being disturbed. Repot sooner only if the mix is sodden, the roots are badly congested, or you find pests in the soil.
Repotting a Flowering Plant
Wait until flowering has finished where possible. If you must act during bloom, keep root disturbance minimal and expect some flower or bud drop.
Repotting Indoors
Lay down a sheet or a large tray, work at a comfortable height, and keep a dustpan nearby. A shallow plastic storage box makes an excellent contained workspace for filling pots without scattering mix. Repot away from carpet where you can.
What to Do After Repotting
The first two weeks decide how well the plant recovers. Consistency is more helpful than intervention.
⚡ Immediately After
- Water thoroughly until liquid drains freely, then empty the saucer.
- Place in bright, indirect light.
- Keep away from radiators, heat vents, and cold draughts.
🌱 First Few Days
- Expect some drooping or slight wilting. This is normal and usually temporary.
- Check the mix with a finger before watering rather than following a fixed schedule.
- Do not fertilise.
- Do not prune healthy foliage.
🌿 First Week
- New growth may pause entirely. This is expected.
- Mild leaf yellowing on one or two lower leaves is common.
- Firm the surface gently if the plant feels loose, or add a little more mix around the base.
✨ Following Weeks
- Resume your normal watering routine as the plant recovers.
- Begin light feeding after four to six weeks, or sooner if your mix has no added nutrients.
- Watch for fresh leaves, which is the clearest sign the plant has settled.
Recovery times vary considerably by species, size, and how much the roots were disturbed. A small plant with an intact root ball may never visibly react, while a large plant with heavily trimmed roots may take a month or more to settle.
Signs of Trouble
| What you notice | Possible cause | What to do |
|---|---|---|
| Roots coming from drainage holes | Root restriction | Check the root ball and consider potting up |
| Soil stays wet for many days | Oversized pot, poor drainage, or dense mix | Inspect drainage holes and mix structure |
| Leaves wilt after repotting | Transplant stress or a watering issue | Check moisture before adding water, and keep light gentle |
| Persistent yellowing across many leaves | Often overwatering in a too large pot | Allow the mix to dry further between waterings |
| Black, mushy roots | Possible root rot | Remove affected tissue and repot into fresh mix |
| Plant loose or wobbly in the pot | Air gaps around the root ball | Add mix around the sides and firm gently |
If symptoms continue beyond a few weeks, work through our houseplant troubleshooting guide to rule out light and watering problems.
Frequently Asked Questions
How do you repot a plant for beginners?
Start by choosing a pot only one size larger with drainage holes. Add fresh potting mix to the base, slide the plant out while supporting the stem, loosen any tightly circling roots, and set the plant at the same depth it was before. Fill around the sides, firm gently, water thoroughly, and keep it in bright, indirect light.
What are the biggest mistakes when repotting?
The most damaging mistake is choosing a pot that is far too large, because the excess mix stays wet and suffocates the roots. Close behind are using a container without drainage holes, burying the stem or crown too deeply, compacting the soil, tearing healthy roots apart, and fertilising immediately afterwards.
How do you repot plants without killing them?
Minimise root disturbance and get the pot size right. Increase the diameter by only 1 to 2 inches, use a well draining mix, plant at the original soil line, and firm the mix gently rather than pressing it down. Afterwards, water once thoroughly, hold off on fertiliser for several weeks, and provide bright but indirect light.
Is it better to repot plants wet or dry?
Slightly moist is best. Water lightly one or two days beforehand so the root ball holds together and slides out cleanly. Bone dry mix crumbles away from the roots and is harder to rewet, while saturated mix smears, compacts, and makes roots more prone to breaking during handling.
How much bigger should a pot be when repotting?
About 1 to 2 inches larger in diameter for most houseplants, or 2 to 3 inches for large floor plants. Aim for one to two finger widths of space between the root ball and the pot wall. Bigger increases leave more wet mix than the roots can use, which raises the risk of rot.
Should I loosen the roots when repotting?
Only if they are circling tightly. Gently tease apart the outer layer of a dense, matted root ball so roots grow outward rather than continuing in a spiral. If the roots are spread naturally through the mix, or are fine and brittle, leave the root ball intact and pot it up as it is.
Should I water a plant immediately after repotting?
Yes, water thoroughly once, right after planting. This settles the mix around the roots and closes air gaps. Let it drain completely and empty the saucer. After that first watering, wait until the top of the mix begins to dry before watering again, since disturbed roots take up water more slowly.
Can I repot a plant with root rot?
Yes, and repotting is usually part of the treatment. Rinse the roots, cut away all soft, dark tissue with sterilised scissors, discard the old mix entirely, and replant into fresh, free draining mix in a clean pot sized to the remaining roots. Recovery depends on how much healthy root survives.
Why is my plant wilting after repotting?
Mild wilting is a normal stress response as the root system re establishes contact with the new mix. It typically eases within several days. Keep the plant out of direct sun, check moisture with a finger before watering, and resist the urge to water repeatedly, which is a common cause of the problem worsening.
Can I repot a plant while it is flowering?
It is better to wait until flowering finishes. Repotting during bloom often causes buds and open flowers to drop as the plant redirects energy toward root recovery. If circumstances force the issue, keep root disturbance to an absolute minimum and expect some loss of flowers.
Final Thoughts
Successful repotting comes down to five decisions: a pot that is only modestly larger, a mix suited to the plant, careful root handling, planting at the correct depth, and patient aftercare. Get those right and most plants settle in without drama.
Just as importantly, know when to leave a plant alone. A snug pot is rarely an emergency, and a plant that is growing well does not need the disruption.
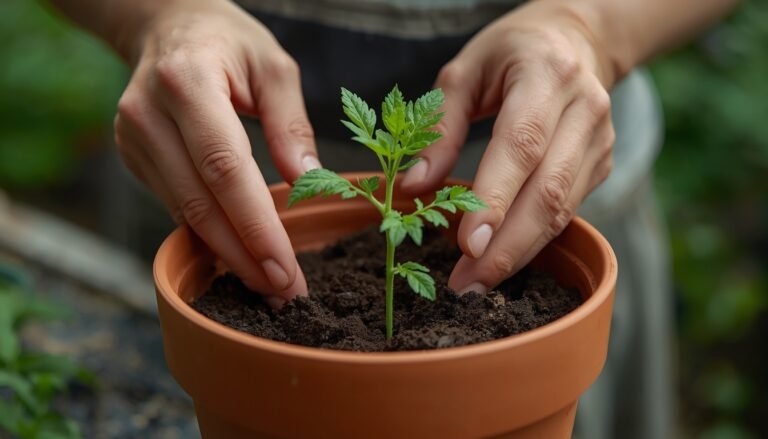
If you want to expand your home garden beyond repotting, exploring seed propagation and container gardening is a great next step. Learn step-by-step techniques for planting tomato seeds from tomatoes to start fresh crops at home, or check out our complete guide on how to grow tomatoes in pots for optimizing yields in limited spaces.
2 Comments