
Planting Tomato Seeds From Tomatoes: Easy Guide 2026
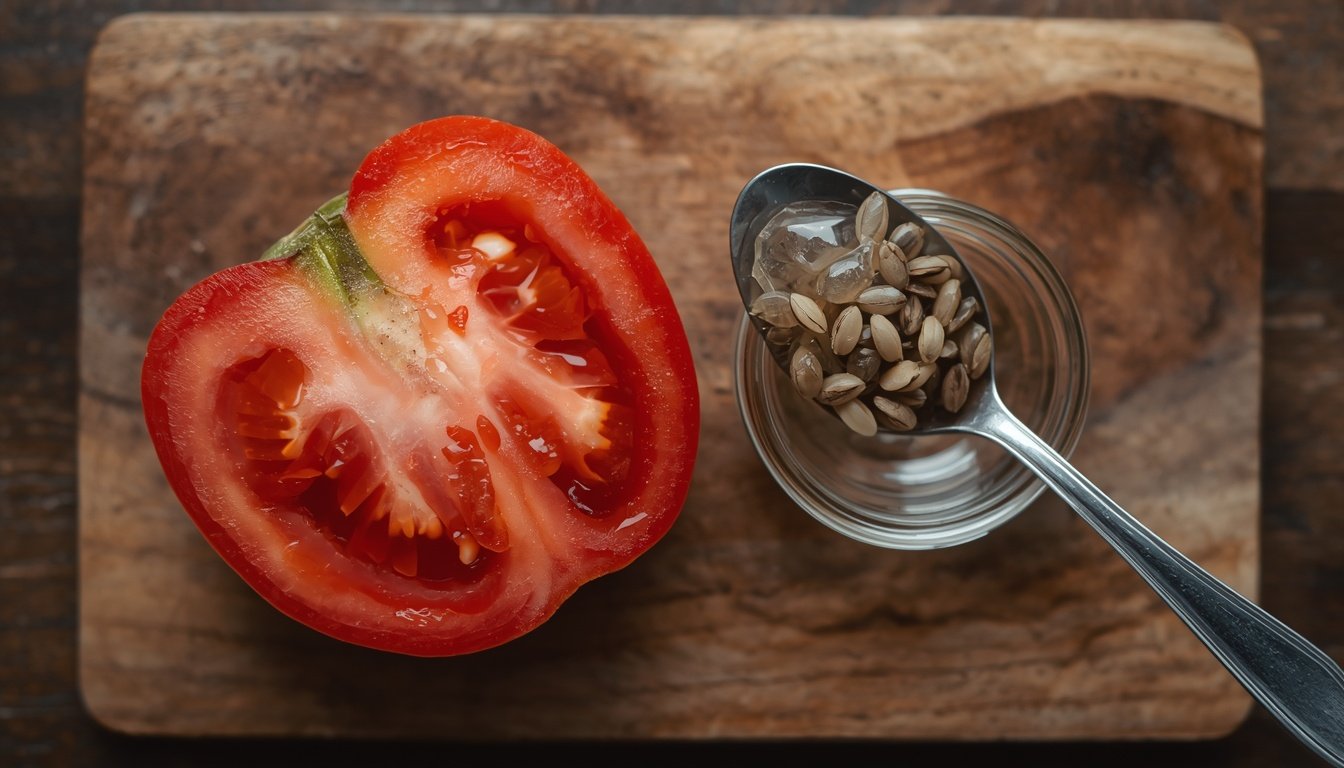
Growing your own crops directly from fresh produce is one of the most rewarding gardening tasks you can try at home. Learning the correct method for planting tomatoe seeds from tomatoes allows you to turn a single ripe fruit into dozens of productive plants without buying expensive commercial seed packets.
Quick Answer (Planting Tomato Seeds From Tomatoes)
You can easily grow healthy plants by harvesting seeds from a ripe, healthy tomato. Scoop out the seeds, remove the gel coating through a short water fermentation or thorough rinse, dry the seeds for seven days, and sow them 1/4 inch deep in moist seed starting mix at 75°F or warmer.
Diagnostic Seed & Germination Matrix
| Seed or Germination Issue | Root Cause | Actionable Fix |
| Seeds rot or grow white mold in soil | Planted fresh without removing mucilaginous gel coat | Ferment seeds in water for 3 days or rinse thoroughly before drying |
| Seedlings collapse at soil line | Damping off fungal infection from excess moisture | Use sterile mix, sprinkle cinnamon powder, and improve airflow |
| Seeds do not sprout after 14 days | Soil temperature is below 70°F or seeds dried out | Place containers on a heating mat at 75°F to 85°F and keep mix moist |
| Offspring produces tiny or tasteless fruit | Saved seeds came from an F1 Hybrid store tomato | Always save seeds from open pollinated Heirloom varieties for true fruit |
Will Seeds From a Fresh Tomato Grow True?
The seeds inside a fresh tomato will almost always germinate if they are fully mature. However, whether the new plant produces fruit identical to the parent depends entirely on the genetics of the variety.
- Heirloom and Open-Pollinated Types: These varieties pass down identical genetic traits. Seeds saved from these tomatoes will produce fruit with the exact same flavor, shape, and size as the original plant.
- F1 Hybrid Varieties: Most store bought tomatoes are commercial hybrids created by crossing two distinct parent lines. Seeds harvested from hybrid tomatoes do not breed true. They may produce unpredictable results such as lower yields, different flavor profiles, or varying vine sizes.
If you are conducting a fun home experiment, any fresh tomato seed will work. If you require specific traits or heavy yields, save seeds from a labeled heirloom variety or purchase certified seeds from how to grow tomatoes from seeds in pots.
Step 1: Choose and Extract Seeds From a Ripe Tomato
Select a fully ripe, disease-free tomato from a healthy plant. Do not use under-ripe tomatoes because their seeds have not developed full germination capability.
- Cut the tomato in half horizontally across its middle to expose the seed cavities.
- Scoop the seeds, juice, and surrounding jelly coat into a small clean glass jar using a spoon.
- Keep the fruit flesh for cooking or eating.
Every seed is surrounded by a slippery mucilaginous gel coat. This natural coating contains growth inhibitors that prevent seeds from sprouting inside the warm, wet interior of the fruit. Removing this gel coating is essential for healthy long-term germination.
Step 2: Clean and Ferment the Seeds
While simple rinsing works for immediate planting, fermenting seeds is the superior technical method. Fermentation breaks down the protective gel sheath, kills seed-borne bacterial pathogens like Bacterial Canker, and increases overall germination rates.
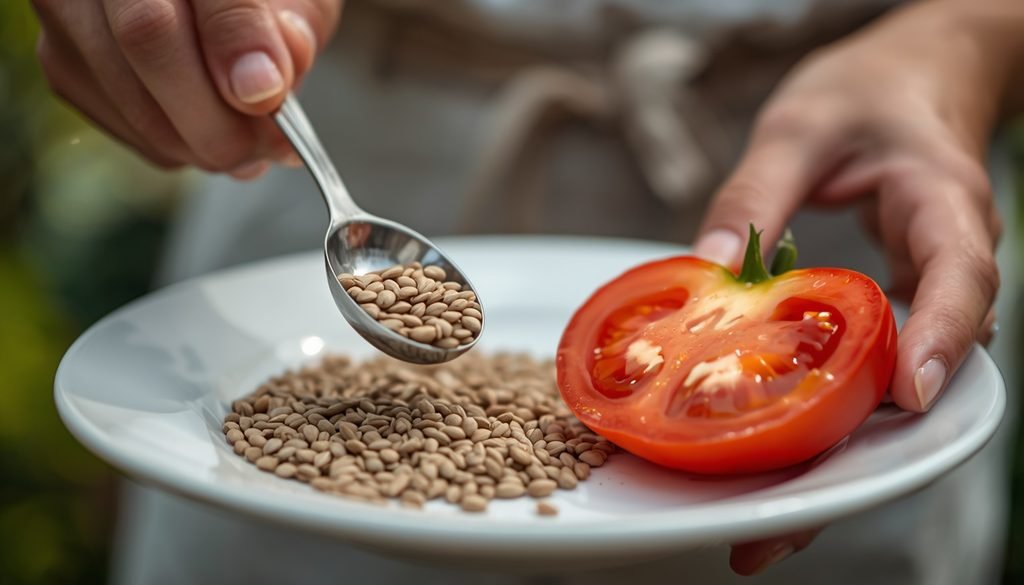
Option A: The Fermentation Method (Recommended)
- Add two inches of unchlorinated water to the jar containing your seeds and pulp.
- Cover the jar with a piece of breathable cheesecloth or paper towel secured by a rubber band.
- Place the jar in a warm spot out of direct sunlight for three to four days, stirring once daily.
- Stop the process once a thin layer of white mold forms on the water surface.
- Fill the jar with fresh water, swirl, and let viable seeds settle to the bottom.
- Pour off the floating mold, pulp, and unviable floating seeds.
- Dump the remaining sunken seeds into a fine mesh strainer and rinse thoroughly under cool water.
Option B: The Quick Paper Towel Rinse
If you plan to plant immediately, spread the unfermented seeds across a paper towel to absorb moisture. Separate the seeds so they do not stick together, then let them dry completely before sowing.
Step 3: Dry and Store the Clean Seeds
Never dry fresh seeds on paper towels after fermentation because they will stick permanently to the fibers.
- Spread the clean, wet seeds in a single layer on a ceramic plate, glass dish, or coffee filter.
- Place the plate in a warm, well-ventilated area away from direct sunlight for five to seven days.
- Stir the seeds daily with your finger during the first two days to prevent clumping.
- Once completely dry and brittle, store seeds in a labeled paper envelope in a cool, dark, and dry location.
Why You Should Avoid Planting Whole Tomato Slices
Planting an entire slice of tomato directly into potting soil is a popular internet trend, but it is technically inefficient. The decaying pulp encourages heavy mold growth, invites soil gnats, and causes dense clusters of overcrowded seedlings. Extracting, cleaning, and spacing seeds individually gives you complete control over plant health and root development.
Step 4: Sow Tomato Seeds Indoors
Start your seeds indoors six to eight weeks before your region’s average last spring frost date.
- Fill clean seed trays or small pots with a sterile, lightweight soilless seed starting mix. Do not use heavy garden soil because it compacts easily and harbors fungal spores.
- Moisten the mix with warm water until it feels like a wrung-out sponge.
- Place two seeds per cell on top of the soil surface.
- Cover the seeds with 1/4 inch of fine seed starting mix and press down gently.
- Mist the surface lightly with water so the seeds make firm contact with the medium.
Planting Tomato Seeds From Tomatoes
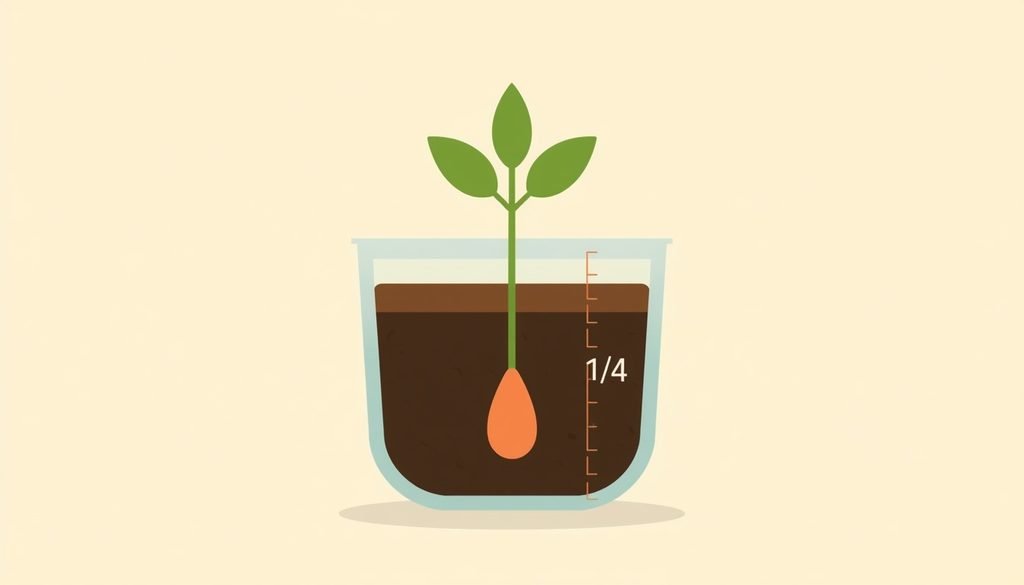
Step 5: Provide Optimal Heat and Moisture for Germination
Tomato seeds do not require light to sprout, but they demand steady heat and humidity.
- Cover the seed tray with a clear plastic humidity dome to lock in moisture.
- Place the tray on a seedling heat mat set between 75°F and 85°F.
- Check the tray daily to ensure the soil surface remains moist.
- Remove the plastic dome immediately when green sprouts emerge, usually within four to ten days.
Step 6: Care for Young Seedlings
Once seeds sprout, their environment needs to change immediately to prevent weak, leggy growth.
- Light: Position plants directly under full-spectrum LED grow lights for 12 to 16 hours daily. Keep the lights two inches above the tops of the seedlings.
- Air Circulation: Place a small oscillating fan on low near your plants. Gentle air movement strengthens stems and prevents damping-off fungal disease.
- Thinning: Once seedlings develop their first set of feathery true leaves, snip the weaker plant in each cell at the soil line using clean scissors.
- Feeding: Apply a balanced liquid organic fertilizer diluted to half strength once every two weeks after true leaves appear.
Step 7: Pot On, Harden Off, and Plant Outside
When roots fill their initial cells, transfer the seedlings into larger four-inch containers. Always bury the lower stem deep into the new potting mix because tomato stems develop extra roots along buried nodes.
Before moving plants outdoors permanently, harden them off over seven days:
- Day 1 to 2: Place plants outside in full shade for two hours, then bring them back indoors.
- Day 3 to 5: Gradually increase outdoor time and expose them to gentle morning sunlight.
- Day 6 to 7: Leave plants outdoors all day in full sun and bring them in at night.
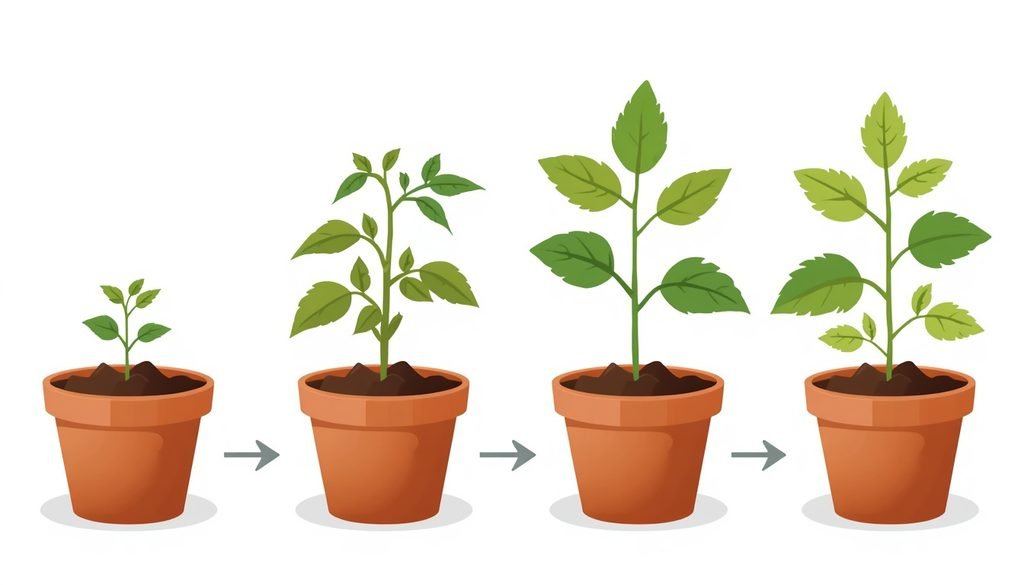
Transplant your hardened seedlings into the garden or large containers after all danger of frost has passed and night temperatures remain consistently above 50°F.
Common Tomato Seedling Troubleshooting
| Symptom | Likely Cause | Corrective Action |
| Tall, thin, spindly stems | Insufficient light intensity or grow lights placed too far away | Move grow lights closer to seedlings and increase exposure to 14 hours daily |
| Yellow lower leaves | Overwatering or nutrient deficiency | Allow the top soil layer to dry slightly between waterings and apply half-strength fertilizer |
| Seedlings fall over suddenly | Damping-off fungal rot at soil line | Discard affected seedlings, sterilize containers, and increase fan air circulation |
| Purple leaf undersides | Cool room temperatures or inability to absorb phosphorus | Keep ambient room temperature above 65°F and use warm water |
If your plant foliage begins turning pale or discolored despite following these container guidelines, you can identify the exact nutrient deficiency or watering error by visiting our detailed guide on troubleshooting yellow leaves on plants. Addressing these early signs will keep your potted crops thriving throughout the growing season.
Frequently Asked Questions (Planting Tomato Seeds From Tomatoes)
1. Can I plant tomato seeds from fresh tomatoes?
Yes. Seeds from a ripe tomato can grow into plants. For best results, remove the gel by rinsing or fermenting, then dry the seeds before storing or sowing. Seeds from hybrid or supermarket tomatoes usually grow, but the plants may differ from the parent fruit in size, taste, or productivity.
2. Can you grow tomatoes from seeds out of a tomato?
Yes, and even seeds planted with little preparation can sprout, but results are less predictable. Cleaning the seeds removes the gel that inhibits germination and reduces mold. If the fruit was a hybrid, expect the plants to vary from the tomato you started with.
3. What is the best way to plant tomato seeds?
Sow seeds about 1/4 inch deep in moist seed starting mix, one or two per cell. Keep them warm, at 70°F or above, and evenly moist under a humidity cover. Remove the cover as soon as seedlings emerge, then move them to very bright light.
4. How long does it take for a tomato plant to produce tomatoes from seed?
Most plants take about three to five months from sowing to the first ripe tomato. Seedlings spend roughly 6 to 8 weeks indoors, and varieties then need about 50 to 100 days after transplanting. Early varieties and warm weather shorten the wait, while cold weather lengthens it.
5. Do I need to ferment tomato seeds?
No, but it helps. The gel around each seed contains germination inhibitors, and fermenting for a few days removes it and helps separate good seeds. A simpler option is to spread seeds on paper towel and dry them, though seeds saved that way may store for a shorter time.
6. How long do saved tomato seeds last?
Well cleaned, fully dried tomato seeds kept cool, dry, and dark often stay viable for about four to six years. Seeds dried without cleaning may last only a year or two. Use paper envelopes, label them with variety and date, and test old seeds before sowing a large batch.
7. Do tomato seeds need light to germinate?
No. Tomato seeds germinate without light but need warmth and steady moisture. Light becomes critical once seedlings emerge. Move them straight to a very bright spot or under grow lights for 12 to 16 hours a day, or they will stretch and become weak.
8. When can I move tomato seedlings outdoors?
Wait until after your last frost and until nights stay above roughly 50 to 55°F. Harden the seedlings first, over 7 to 10 days, with gradual outdoor time. Avoid putting tender seedlings outside on windy days or when temperatures are below 45°F.
9. Can I grow tomatoes from a slice of tomato?
Yes, seeds in a buried slice can germinate, but results are less controlled. Seedlings come up crowded, the flesh may rot, and covering the slice too deeply is easy. Cleaning the seeds and sowing them individually gives more even germination and easier thinning.
Final Thoughts
Planting seeds harvested from fresh tomatoes is a cost-effective way to multiply your garden harvest. By fermenting the seeds to eliminate germination inhibitors, maintaining warm soil temperatures, and providing intense overhead lighting, you can raise strong seedlings ready for a massive seasonal yield. Keep exploring PlantySolve for more practical, step-by-step growing guides and expert plant troubleshooting solutions.
if you need anymore help you can visit our website.
2 Comments