How to Propagate Spider Plant: complete guide (2026)
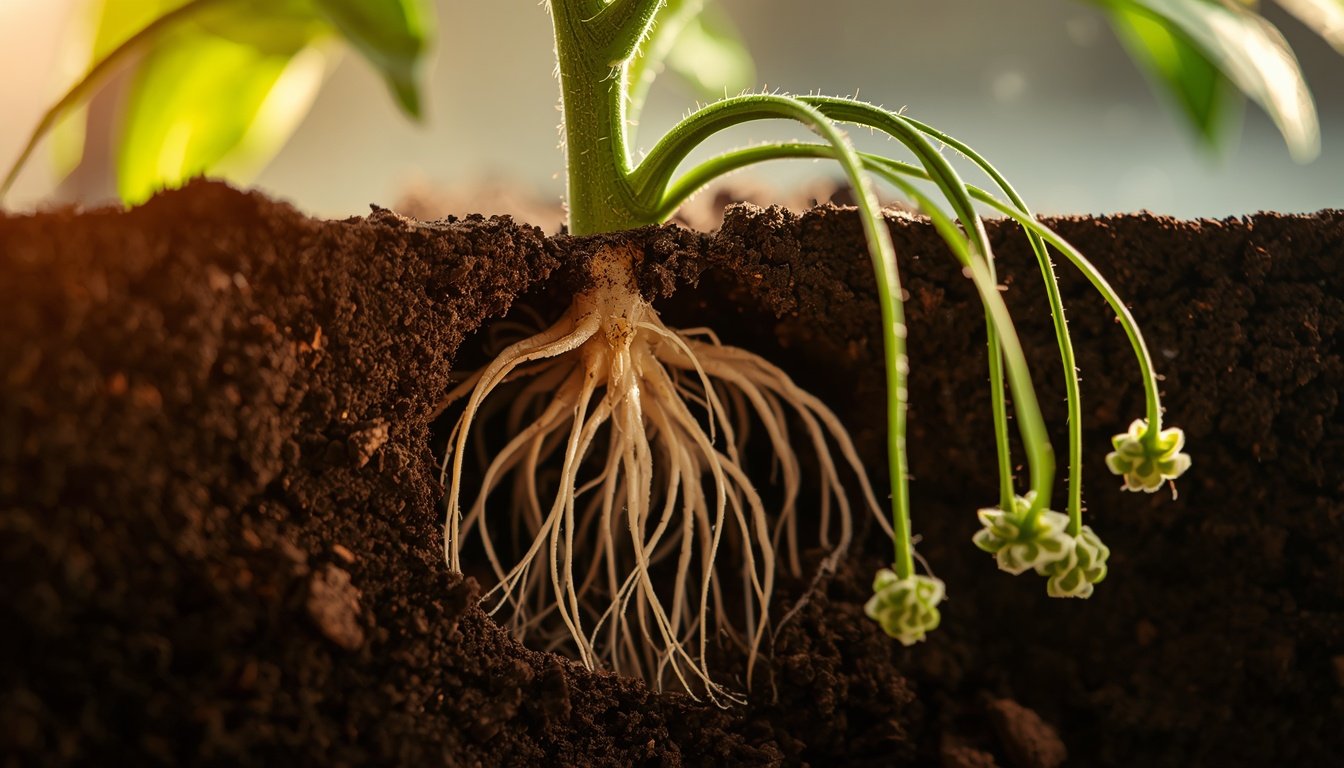
A spider plant with dangling babies has already done much of the work. What remains is choosing a baby that is ready, cutting in the right place, and giving it a rooting environment that does not rot it. This article covers how to propagate spider plant babies in water, in soil, and while still attached to the parent, along with division, seed, and the reason a single leaf will not work.
Advice attributed to the Royal Horticultural Society (RHS), the New York Botanical Garden (NYBG) or university extension services reflects their published guidance. Timings and tips described as grower reports are informal, vary with conditions, and are not guarantees.
Quick Answer
Cut off a spiderette that has small root nubs at its base, leaving a short stub of runner and not cutting into the plantlet. Root it with only the base in water, or plant it in moist, well-drained mix, in bright, indirect light. Pot water-rooted plantlets once roots are at least 1 inch long. No babies? Divide a crowded plant.
Which Problem Are You Having?
| Problem | Likely Cause | What To Do |
|---|---|---|
| No roots after 2 to 3 weeks | Plantlet cut without root nubs, cool or dim room, or stale water | Check that the base is firm and pale, refresh the water, and move to a warmer, brighter spot. Rootless plantlets can take much longer. |
| Baby is wilting | Roots not yet working, drying mix, or direct sun | Keep the mix evenly moist and out of direct sun. |
| Brown leaf tips | Minerals in tap water, dry air, or dry mix | Try rainwater or distilled water and keep moisture even. Judge progress by new leaves. |
| Soft, dark or mushy base | Rot from stagnant water, submerged leaves or waterlogged mix | Trim above the damage if firm tissue remains. Discard if the base is soft throughout. |
| Cloudy or slimy water | Bacteria on decaying tissue | Replace the water and remove leaves below the waterline. |
| Baby is tiny or has no root nubs | Too young to cut | Leave it attached longer, or layer it. |
| No babies on the mother plant | Young plant, low light, cool room, oversized pot, cultivar, or season | See the section on why spider plants do not produce babies. |
What Are the Main Ways to Propagate a Spider Plant?
The RHS describes spider plants as very easy to propagate from the plantlets they produce after flowering. Sources use several terms loosely, so it helps to define them:
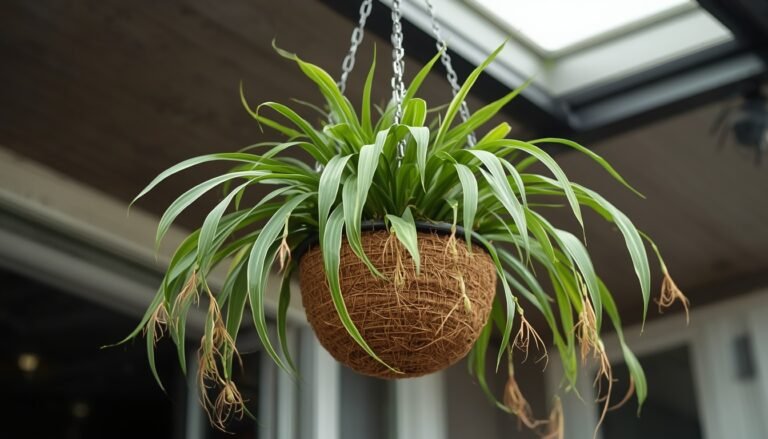
- Spiderette: also called a baby, pup, plantlet or offset. It is a small rosette of leaves with its own base, from which roots develop. Extension sources describe plantlets as pre-rooted or forming aerial roots as they mature.
- Runner or stolon: the long, wiry stem that carries the spiderettes. Botanically it is a flowering stem: the plant bears small white flowers on it, and plantlets follow (RHS, NYBG).
- Crown: the central point of the plant where the leaves emerge. Spider plant is a clump-forming perennial, and an older plant may have several crowns.
- Roots: the thick, fleshy (tuberous) roots below the crown. These differ from the fine roots that develop on a new spiderette.
- Division: separating a clump into sections, each with at least one crown, leaves and healthy roots.
A spiderette is a vegetative offset of the parent, so it is a genetic copy. That is why plantlets, rather than seed, are the usual way to keep a variegated plant true to type.
There are three practical ways to make a new plant: spiderettes, division, and seed. A single leaf is not a practical way, as explained below.
When Is a Spider Plant Baby Ready to Propagate?
Look for three things:
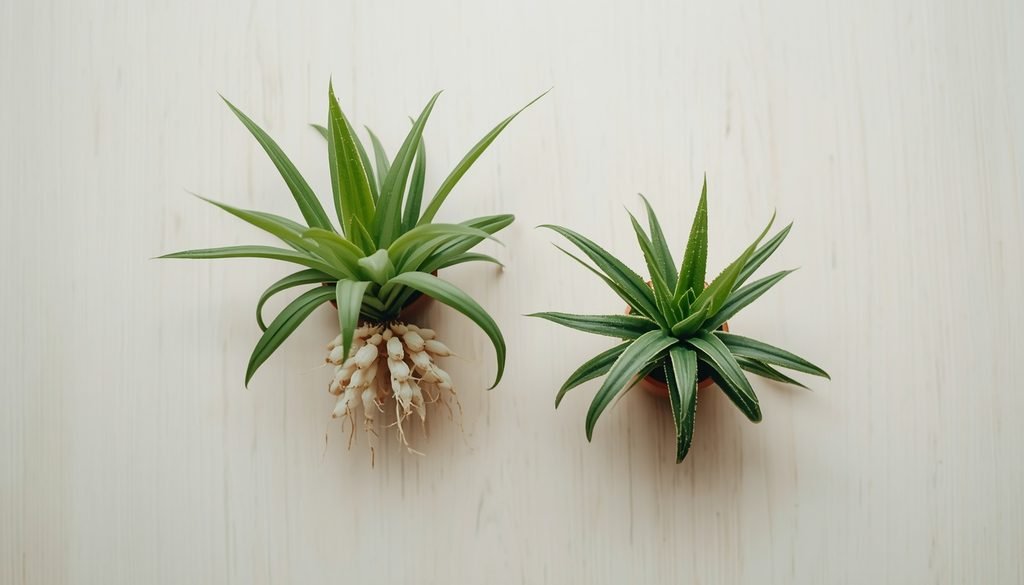
- Root nubs at the base. These look like pale bumps or short roots at the bottom of the rosette. The RHS advises detaching offsets once they have their own roots.
- Several leaves. NYBG suggests cutting plantlets when their leaves are 2 to 3 inches (5 to 7 cm) long.
- Healthy color and firmness. Avoid pale, limp or damaged plantlets.
If the Spiderette Has No Roots
If you can wait, you have three options:
- Leave it attached longer. Roots may form while it hangs on the parent.
- Layer it. Pin the plantlet onto a pot of moist mix beside the parent (see the attached method below).
- Cut and root it. NYBG describes potting a rootless plantlet in moist, peat-based mix, optionally dipping the base in rooting powder, and estimates 6 to 8 weeks in a warm room. Some growers root them in water. Expect slower, less predictable results than with a plantlet that already has root nubs.
Season
Clemson Extension lists autumn as the season for offshoots, and NC State Extension reports that plantlet development is light dependent, following short days with long, uninterrupted nights. How this applies to indoor plants under household lighting is not well documented. Sources do not restrict propagation to one season.
How to Propagate Spider Plant in Water
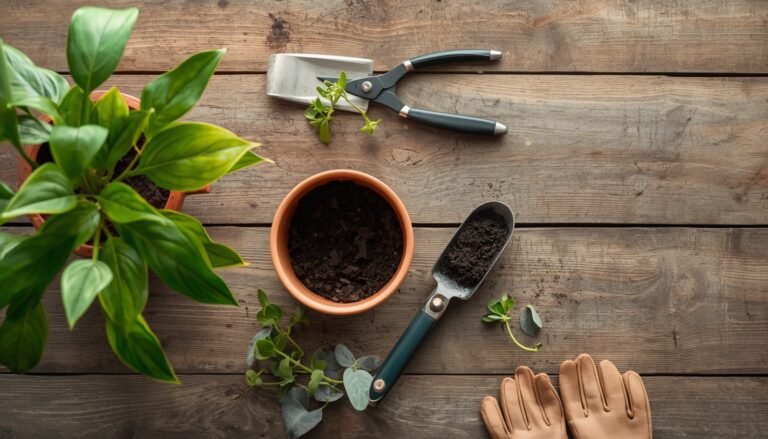
You need clean, sharp scissors, a narrow clear container, room temperature water, and later a small pot with drainage holes.
Step 1: Choose a healthy spiderette
Pick a firm, evenly colored plantlet with root nubs and several leaves.
Step 2: Identify the base and developing roots
Find the point where the rosette joins the runner. The small knot at the base is where roots develop and must stay intact.
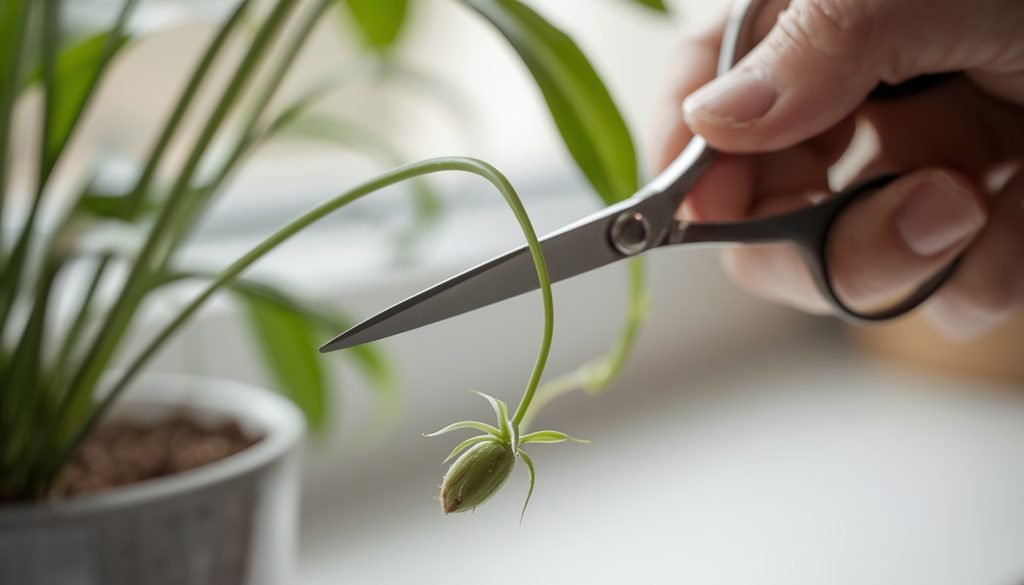
Step 3: Cut the connecting runner correctly
Cut through the runner just outside the base of the plantlet, leaving a short stub of stem. Gardening publishers often suggest a stub of about 1 inch (2 to 3 cm), but this is informal advice. The important point is not to cut into the plantlet itself. Strip any small lower leaves that would sit below the waterline, as NYBG advises.
You can trim the spent runner from the parent or leave it. This is mainly a matter of tidiness.
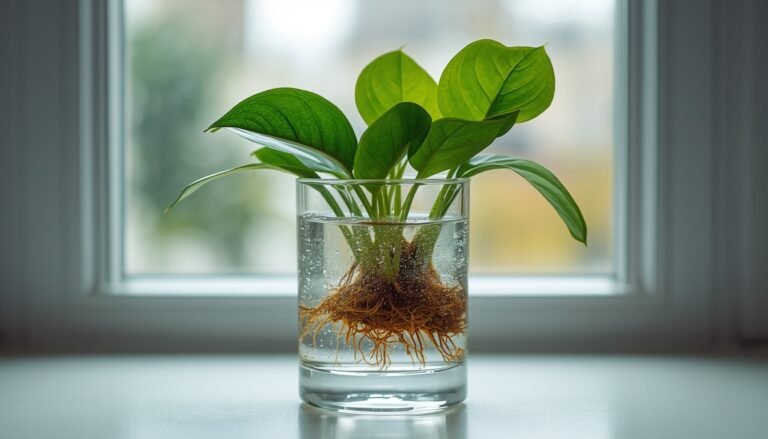
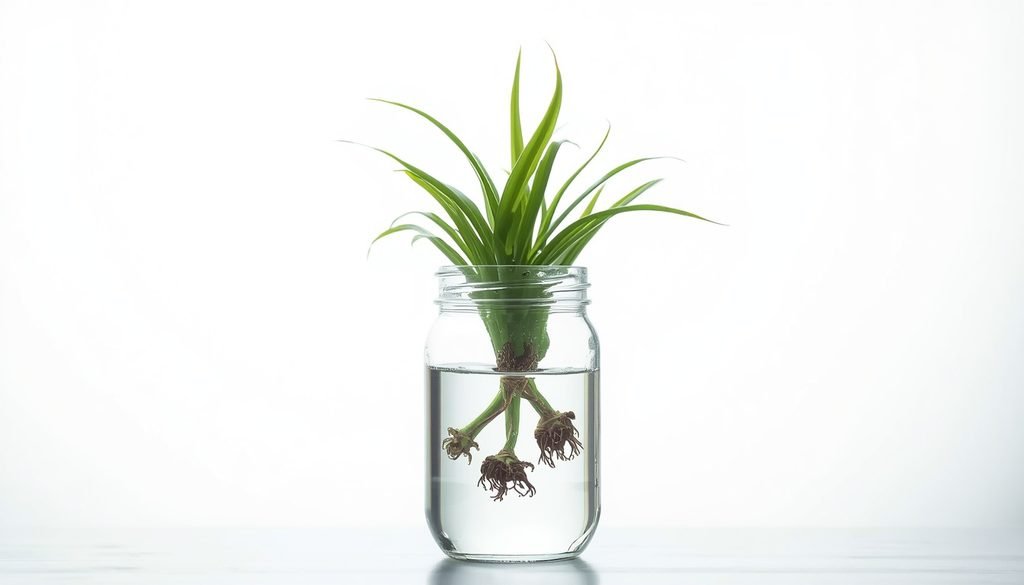
Step 4: Place the base in water
Use a narrow container that holds the plantlet upright. Add enough water to cover the root nubs and the very bottom of the plantlet, and keep the leaves above the surface. Room temperature water is fine. If your plants tend to develop brown leaf tips, rainwater or distilled water may help, since NC State and NYBG both note sensitivity to chemicals or minerals in tap water.
Step 5: Provide suitable light
Use bright, indirect light in a warm room. NC State notes that spider plant is intolerant of direct sunlight, which can also overheat a small jar.
Step 6: Monitor root development
Change the water when it turns cloudy, or roughly weekly, and rinse the container. Growers commonly report new root growth within one to two weeks for a plantlet that already has root nubs, though this varies. Firm, pale roots are healthy. Soft, brown or slimy tissue is not.
Step 7: Move the rooted plant into soil
The RHS describes potting plantlets individually once their roots lengthen, and NYBG suggests moving them into soil-based mix when roots are at least 1 inch (2.5 cm) long. Some growers wait until roots reach 2 to 3 inches. Use a small pot with drainage holes and a light, well-drained mix. Cover the roots, keep the center of the rosette at the surface, water until excess drains, and keep the mix evenly moist while the plant settles in.
How to Propagate Spider Plant Directly in Soil
This method skips the transplant, but the roots are hidden. Clemson Extension notes that plantlets root readily when in contact with soil.
- Choose the pot and mix. Use a small pot with drainage holes and a light, well-drained potting mix. Some growers add perlite for extra drainage.
- Set the plantlet. Make a hole, cover the root nubs, keep the leaves above the surface, and firm the mix gently.
- Water thoroughly. Let excess water drain away, then keep the mix damp but not soggy.
- Provide bright, indirect light and warmth. Some growers cover the pot loosely with a clear bag for a short period to hold humidity, then remove it once growth begins.
- Judge rooting by new growth. Growers note that roots form before new leaves, so the first weeks can look uneventful. New leaves emerging from the center are a clear sign of rooting. A single, light tug after several weeks can also test for resistance, but repeated tugging can break new roots.
A plantlet without root nubs takes longer and is more likely to fail.
How to Propagate Spider Plant While the Baby Is Still Attached
This is often called layering. The RHS describes pinning plantlets into pots of moist compost, and grower guidance explains that the parent can keep supplying the plantlet until you cut the runner. It is a practical option for small or rootless spiderettes.
- Set up the pot. Place a small pot of moist mix beside the parent, close enough that the runner reaches it without strain. For a hanging plant, stand the pot on a shelf or stool below.
- Position the plantlet. Rest the base on the surface or press it very lightly into the mix, keeping the runner attached and unkinked.
- Hold it in place. Use a bent piece of wire, as the RHS describes, or mound a little mix around the base.
- Care for it. Keep the mix moist and the light bright but indirect.
- Cut the runner later. Wait until the spiderette is clearly growing, meaning new leaves are emerging or it resists a very gentle tug. Some growers report cutting after about two weeks, but this depends on conditions. Cut close to the new plant, leaving a short stub, with clean scissors.
The trade-off is space and time: the pot must sit beside the parent until you cut.
How to Propagate Spider Plant by Division
The RHS and NC State Extension both list division as a method. Division suits an older plant that has filled its pot, since the RHS notes that spider plant roots soon fill their container. A mature plant may have several crowns.
- Water first. Damp roots separate more easily.
- Remove the plant. Slide it out of the pot and shake off loose mix.
- Find the natural sections. Each section should have at least one crown with leaves and healthy roots.
- Separate them. Tease the roots apart by hand. If the root ball is too tightly packed, cut through it with a clean, sharp knife. Handle the fleshy roots gently, because they can break.
- Trim damage. Remove dead or mushy roots.
- Replant. Pot each division in fresh mix in a pot with drainage holes, water it, and keep it out of direct sun.
Avoid cutting a division so small that it lacks a crown or healthy roots. A plant with only one crown cannot be divided without harming it.
Can You Propagate a Spider Plant From a Single Leaf?
No. Horticultural guides consistently report that a detached spider plant leaf does not root into a new plant. The RHS and extension sources list plantlets, division and seed as the propagation methods.
The likely explanation lies in the plant’s structure. The leaves arise from the crown, and new roots and shoots form from the crown or, in a spiderette, from the small base that carries the growing point. A leaf blade lacks that tissue. Some other houseplants regrow from leaf cuttings, but spider plant is not one of them.
If a leaf comes away with a piece of crown and roots attached, that piece is effectively a small division. A loose leaf, or a loose piece of fleshy root without a crown, is not a dependable starting point.
How to Propagate Spider Plant Without Babies
If the plant has not produced spiderettes, there are two options and one practical alternative.
- Division: works if the plant has several crowns and a crowded root system.
- Seed: the University of Florida IFAS fact sheet lists seed as an occasional method. It requires pollinated flowers, which indoors usually means hand pollination with a small brush. Growers advise sowing fresh seed shallowly in moist mix in bright light. Seedlings from a variegated parent may not be variegated.
- A spiderette from another plant: a practical route if your plant is young or has a single crown.
Why Is My Spider Plant Not Producing Babies?
No single cause applies to every plant. The RHS lists these possibilities:
- Age: many spider plants do not flower or produce plantlets until they are at least a year old.
- Light: too little light can discourage flowering.
- Temperature: cool conditions can discourage it.
- Pot size: an overly large pot is another reported discouragement.
- Cultivar or species: some cultivars and related Chlorophytum species do not produce offsets.
NC State Extension also advises against over-fertilizing, which it says decreases plantlet formation. Since plantlet development appears to follow the seasonal light pattern described above, a plant that has made none yet may simply be waiting for its season.
How Long Does Spider Plant Propagation Take?
Timing depends on temperature, light, plantlet size, and whether roots had already started. Only the NYBG figure comes from an institution. The rest are grower reports and should be treated as rough guides.
| Situation | Approximate Range | Source Type |
|---|---|---|
| Plantlet with root nubs, in water | New root growth in about 1 to 2 weeks | Grower reports |
| Plantlet with root nubs, in mix | Visible new leaf growth often takes a few weeks, since roots form first | Grower reports |
| Plantlet with no roots | NYBG estimates 6 to 8 weeks in a warm room; some growers report shorter times | NYBG, plus grower reports |
| Layering | Runner cut once growth is clear, sometimes after about two weeks | Grower reports |
| Division | New growth within a few weeks | Grower reports |
| Seed | Some growers report germination in roughly two weeks | Grower reports |
A newly rooted plant generally takes longer to look established than it does to root.
Water Versus Soil Propagation
Both are described by horticultural sources. The RHS mentions potting plantlets and rooting them in water first, and NYBG describes water rooting for plantlets that already have roots.
| Factor | Water | Soil (Direct) | Attached (Layering) |
|---|---|---|---|
| Advantages | Roots are visible, so progress is easy to check | No transplant step | The parent can keep supplying the plantlet until you cut the runner |
| Disadvantages | Needs a later move to mix, and the water must stay clean | Roots are hidden, so problems are harder to spot | The pot must sit beside the parent for a while |
| Best for | Plantlets that already have root nubs | Growers who want fewer steps | Small or rootless plantlets |
| Transplant | Pot up when roots are at least about 1 inch long | Not needed | Cut the runner once growth is clear |
| Common mistakes | Submerged leaves, stale water | Soggy mix, no drainage | Cutting the runner too early |
Some growers say water roots adjust more slowly to soil, while others prefer water for visibility. No rigorous comparison turned up, so choose on practicality.
A simple decision guide:
- Small or rootless spiderette: layer it.
- Spiderette with root nubs, and you want to watch the roots: propagate in water.
- Spiderette with root nubs, and you want fewer steps: pot it directly.
Common Spider Plant Propagation Mistakes
- Cutting too early: a plantlet without root nubs roots more slowly and is more likely to fail.
- Cutting into the base: cut the runner, not the plantlet.
- Keeping foliage submerged: leaves below the waterline rot and foul the water.
- Using stagnant water: replace it when it turns cloudy.
- Overwatering the mix or using a pot without drainage: waterlogged mix is a common route to rot.
- Using an oversized pot: a large volume of mix around a small root system tends to stay wet.
- Providing unsuitable light: direct sun scorches leaves, while deep shade slows growth.
- Disturbing a weak plant too soon: give new roots time before moving or tugging.
- Ignoring signs of rot: soft, dark tissue spreads if left.
Spider Plant Propagation Troubleshooting
No roots forming
- Likely cause: the plantlet had no root nubs, or the room is cool or dim.
- What to check: whether the base is firm and pale, and whether the water is clean.
- What to change: refresh the water and move to a warmer, brighter spot away from direct sun.
- When to wait: several weeks, especially for a rootless plantlet.
- When to restart: if the base turns soft or dark.
Wilting baby
- Likely cause: roots not yet working, a drying mix, or direct sun.
- What to check: mix moisture and light.
- What to change: keep the mix evenly moist and move out of direct sun.
- When to wait: slight droop right after potting is common.
- When to restart: if the plantlet shrivels or the base is soft despite steady moisture.
Brown leaf tips
- Likely cause: NC State and NYBG note sensitivity to chlorine, fluoride and other elements in tap water. Dry air and dry mix are other possible causes.
- What to check: your water source and watering pattern.
- What to change: try rainwater or distilled water, as NYBG suggests, and keep moisture even.
- When to wait: existing brown tips do not recover, so watch the new leaves.
- When to restart: usually not needed unless other symptoms appear.
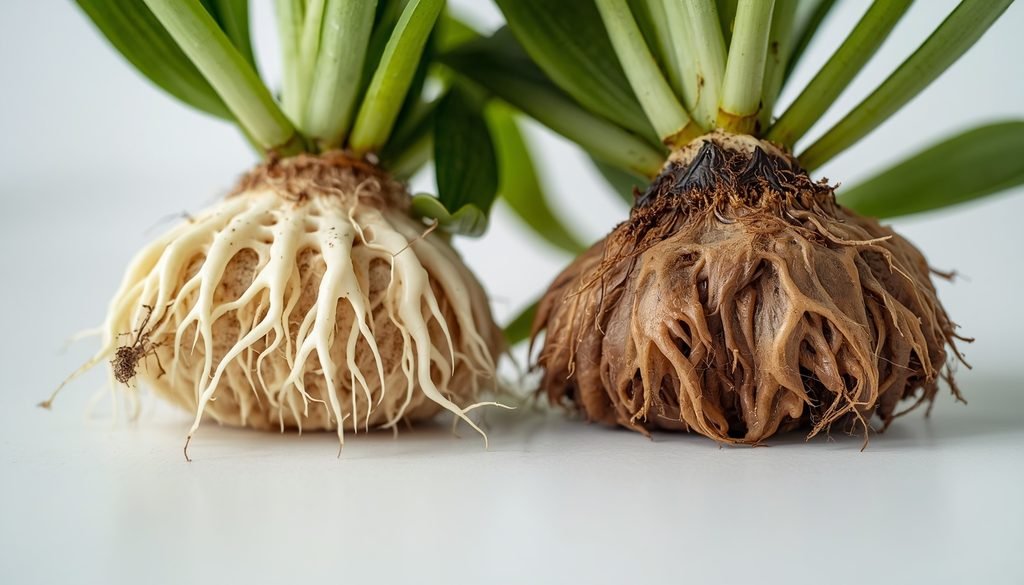
Soft, dark or mushy base
- Likely cause: stagnant water, submerged leaves, or waterlogged mix.
- What to check: press the base gently. Firm is healthy, mushy is not.
- What to change: trim above the damage with clean scissors if firm tissue remains, then use a clean container and fresh water or mix.
- When to wait: not with active rot.
- When to restart: if the base is soft throughout, take a new plantlet.
Cloudy or slimy water
- Likely cause: bacteria on decaying tissue.
- What to check: any leaves below the waterline.
- What to change: replace the water, rinse the plantlet and container, and remove submerged leaves.
- When to wait: if the roots are firm and the plantlet looks healthy, clean water is usually enough.
- When to restart: if the base becomes soft.
Yellowing leaves
- Likely cause: overly wet mix, or a few older lower leaves dying back.
- What to check: mix moisture, drainage, and whether new growth is healthy.
- What to change: let the surface dry slightly and confirm the pot drains.
- When to wait: if only one or two older leaves yellow and new growth looks fine.
- When to restart: if yellowing spreads and the base feels soft.
Aftercare
Once the new plant is established, its environment matters too. If you plan to move it outdoors, read our guide to keeping spider plants outside for sun, temperature, and seasonal care limits.
- Light: NC State describes spider plant as preferring medium light, tolerating deep shade, and being intolerant of direct sunlight.
- Temperature: NC State advises keeping temperatures above 45°F (7°C), and NYBG advises not letting them fall below 50°F (10°C). Keep new plants away from cold drafts.
- Watering: NC State notes that spider plant grows best in moist soil but tolerates drought once established. A newly rooted plant has a small root system, so keep the mix evenly moist and never waterlogged.
- Humidity: NC State describes medium air humidity as suitable and suggests a humidifier or pebble tray to raise it. Dry air is one possible contributor to brown tips.
- Pot and soil: a small pot with drainage holes and a light, well-drained mix. Roots fill the pot quickly (RHS), so plan to move up a size later.
- Fertilizer: hold off until new leaves are growing, then feed lightly. NC State advises against over-fertilizing.
- Signs of healthy growth: new central leaves, firm anchoring in the mix, and evenly colored foliage.
- Signs of stress: persistent drooping, spreading yellowing, or a soft base.
Conclusion
To propagate spider plant babies, cut a spiderette once it has root nubs and several leaves, cut just outside its base, and choose water, mix or layering to suit its size. If there are no babies, division is the alternative, and a single leaf will not work. Keep the base clean, the mix evenly moist and the light bright but indirect, and allow extra time for small or rootless plantlets.
Frequently Asked Questions
Where do you cut a spider plant to propagate it?
Cut the runner just outside the base of the baby, leaving a short stub of stem (often suggested as about 1 inch, or 2 to 3 cm). Avoid cutting into the plantlet itself. Trimming the spent runner from the parent afterward is optional
Can you propagate a spider plant from a single leaf?
No, a single leaf does not produce a new spider plant. Horticultural guides report that a detached leaf does not root into a new plant. New plants come from spiderettes, divided crowns with roots, or seed.
How long does it take for spider plant cuttings to root?
It varies with conditions. Growers commonly report new root growth in about one to two weeks in water for a spiderette that already has root nubs. For a plantlet with no roots, NYBG estimates 6 to 8 weeks in a warm room. Cool or dim conditions slow rooting.
What happens if you do not cut the babies off a spider plant?
Nothing harmful. NYBG notes that in nature the plantlets reach the soil, root, and grow around the parent. Heavy runners can look untidy. Whether removing plantlets benefits the parent is not well established, so remove them for tidiness or to make new plants.
How do you propagate a spider plant without babies?
Divide a mature plant that has several crowns, making sure each section has leaves and healthy roots. Seed is another option but requires pollinated flowers and is slower. A plant with a single crown cannot be divided without harm, so a spiderette from another plant may be a practical alternative.
Why is my spider plant not producing pups or babies?
Several factors are possible. The RHS lists a plant under about a year old, too little light, cool temperatures, an overly large pot, and cultivars that do not produce offsets. NC State Extension adds that over-fertilizing decreases plantlet formation. No single cause applies to every plant.
Is it better to propagate spider plants in water or soil?
Neither is consistently better. Water lets you watch root growth and suits plantlets that already have root nubs, but needs a later move to mix. Direct potting skips that step, and layering suits small or rootless plantlets. Choose the method that fits your situation.
How big should a spider plant baby be before cutting?
Wait for root nubs at the base and several leaves. NYBG suggests leaves of about 2 to 3 inches (5 to 7 cm), and the RHS advises detaching offsets once they have their own roots. If the base is smooth or the plantlet is tiny, leave it attached longer or layer it.
Why is my spider plant baby not rooting?
Common reasons are cutting too young, a cool or dim room, or stale water. Check that the base is firm and pale, refresh the water, and move it somewhere warm and bright. Rootless plantlets can take weeks. If the base turns soft or dark, start again with a new spideret